Water Softener Installation, Service, and Repairs
Find Hard Water Relief with Custom Water Softener Solutions
As licensed master plumbers, Blakeslee & Son has been serving the Rockford, MI and Grand Rapids, MI area since 1948—over 75 years!
You’ll get rapid water softener repair, maintenance, or installation when you call our office at (616) 213-3060.
Hours:
Monday through Friday: Open 24 hours a day
Saturday: Open 24 hours a daySunday: Open 24 hours a day
Emergency Service
Get Immediate Water Softener Repair
Water softener not working? Call us any time. We’ll be on the way as soon as possible!
Water Softener Installation
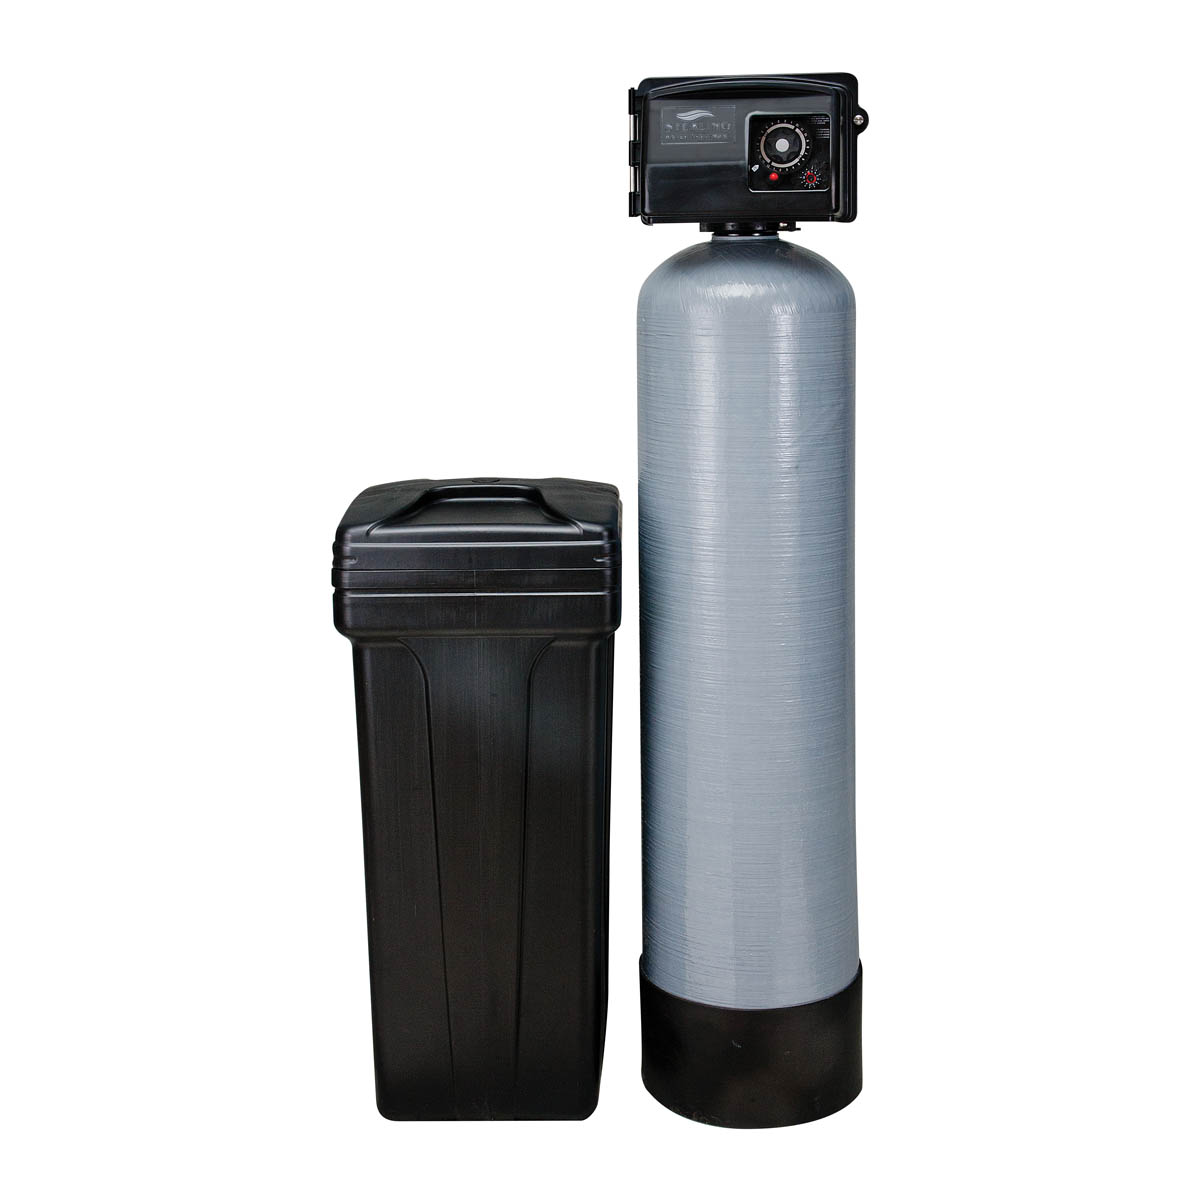
At Blakeslee & Son, we install and service trusted Sterling water softeners of several different sizes.
What size is right for you? The right water softener depends largely on your area’s level of water hardness, the size of your household, and the amount of water used each day. Because West Michigan water is considered hard to very hard, we offer several sizes that are up to the task, no matter how big or small your family is.
We offer sizes including:
- 30,000 grain
- 40,000 grain
- 45,000 grain
Contact local water quality experts at Blakeslee & Son for the perfect water softener for your home!
Water Softener Repair & Service
Whether your water softener needs a basic repair or emergency service, Blakeslee & Son is ready to help. We offer several different services including:
- Part replacements & repairs
- Salt bridge removal
- Equipment installation & relocation
- Emergency service for leaks, pressure issues, etc.
With the right care and maintenance, your water softener should last anywhere between 10-15 years. If you run into any problems, give us a call at (616) 213-3060
What Water Softener Installation Involves in a West Michigan Home
Installing a water softener is less about the unit itself and more about how that unit is integrated into your home’s existing plumbing, drainage, and water chemistry. A softener has to be tied into the main water supply at the right point, given a code-compliant drain with an air gap, supplied with a nearby electrical outlet, and positioned ahead of your water heater so that softened water protects the appliance most vulnerable to scale. When any one of those conditions is handled incorrectly, the symptoms show up later as low water pressure, drain backflow, voided equipment warranties, or a unit that never quite regenerates the way it should. Because Grand Rapids and the surrounding communities sit on water that the city’s own analysis places in the hard range, around nine grains per gallon on municipal supply and frequently higher on private wells, a softener here is rarely optional equipment, and a clean installation is what determines whether it actually solves the hard water problem or simply relocates it.
When Blakeslee & Son installs a softener, the work begins before any pipe is cut. We start with a water test, because the hardness level and the presence of iron or other minerals dictate both the grain capacity of the unit and the way it needs to be plumbed. A home pulling very hard well water in Cedar Springs or Sparta has different requirements than a home on Grand Rapids city water, and matching the system to the actual water chemistry is the difference between a softener that runs efficiently for a decade and one that burns through salt and resin prematurely.
Where a Water Softener Should Be Installed
Placement is the first decision that shapes the entire installation, and it follows a few firm rules drawn from the manufacturer’s specifications and from local plumbing code. The softener needs to sit on a clean, level surface within reach of a 120-volt outlet, and it should be positioned as close as possible, generally within fifteen feet, to a floor or laundry drain capable of handling the volume and flow rate of the regeneration backwash cycle. Critically, the unit belongs on the main supply line upstream of the water heater, typically at least ten feet ahead of it, so that softened water reaches the appliance where limescale does the most damage. The plumbing is also arranged so that interior fixtures receive softened water while outdoor hose bibs and irrigation lines bypass the system, since there is no benefit to softening water destined for the lawn and no reason to spend salt on it.
This is also where the distinction between municipal and well water matters most. On a private well, the softener is installed downstream of the pressure tank, and homes drawing well water in the outlying parts of our service area often carry iron alongside hardness minerals, which can call for a system specifically equipped to handle both. On municipal supply, the unit goes in downstream of the meter. Getting this routing right at installation is far cheaper than discovering a placement problem after the connections are soldered and the system is charged.
How the Installation Is Performed
Once placement is settled, the installation itself is a sequence of connections that each carry their own code and safety considerations. The main water supply is shut off and the lines are drained, and the fuel or electrical supply to the water heater is shut down before any work begins. The bypass valve is fitted to the control head first, then the supply line is plumbed into the inlet and outlet using fittings matched to your home’s existing pipe material, whether that is copper, CPVC, PEX, or galvanized steel. A rigid drain line is run from the control valve to the floor drain with the air gap that code requires, because a softener drain connected directly to the household drain without that gap risks backflow of wastewater into your treated supply, a condition that is not only unsanitary but illegal in most jurisdictions. The brine tank is connected, an overflow line is added where water could otherwise damage flooring or structure, and only then is the system slowly brought back to pressure, programmed to your local water hardness, and run through its first regeneration cycle while we watch for leaks and confirm correct operation.
None of these steps is beyond a skilled DIYer in principle, but each one is a point where a small error compounds into an expensive problem, and several of them, the air gap, the bypass arrangement, the expansion considerations at the water heater, intersect with plumbing code in ways that affect both safety and warranty coverage. A professional installation protects the manufacturer’s warranty on the equipment, ensures the work meets local code, and means that if anything does go wrong, there is a licensed plumber accountable for the fix rather than a homeowner facing water damage and a second bill to redo the job correctly.
Installing a Softener Alongside a New Water Heater
The most cost-effective time to install a water softener is at the same moment as a tank or tankless water heater, and the reasoning is structural rather than promotional. The water heater is the appliance most aggressively attacked by hard water, since scale accumulates on heating elements and inside the tank, eroding efficiency and shortening the unit’s life, and tankless systems are if anything more sensitive, because scale on the heat exchanger forces descaling maintenance and undermines the efficiency that makes them worth installing in the first place. When the softener and the heater are installed together, the plumbing is opened once, the labor overlaps, and the new heater is protected by softened water from its first day of service rather than beginning to scale before the softener is ever added. For homeowners weighing a tankless upgrade, pairing it with a softener is less an add-on than a way of safeguarding the larger investment.
What Does a Water Softener Do?
A water softener works to remove the hardness particles in your water—millions of negatively charged resin beads inside the unit attract the positively charged calcium and magnesium leaving only soft water to exit. These units are relatively small and can be tucked away in the basement or another convenient location.
Signs That You Need a Water Softener
The easiest way to know if you need a water softener is to get a free water analysis. But if you haven’t gotten a water test yet, you may want to consider getting one if you notice these hard water symptoms:
- Dry skin and hair.
- Higher utility bills.
- Water heater problems.
- Water that smells or tastes bad.
- Scale and staining on your appliances and plumbing.
- Your laundry fades quickly in the wash or becomes stiff and scratchy.
For more information check out our water softener guide.
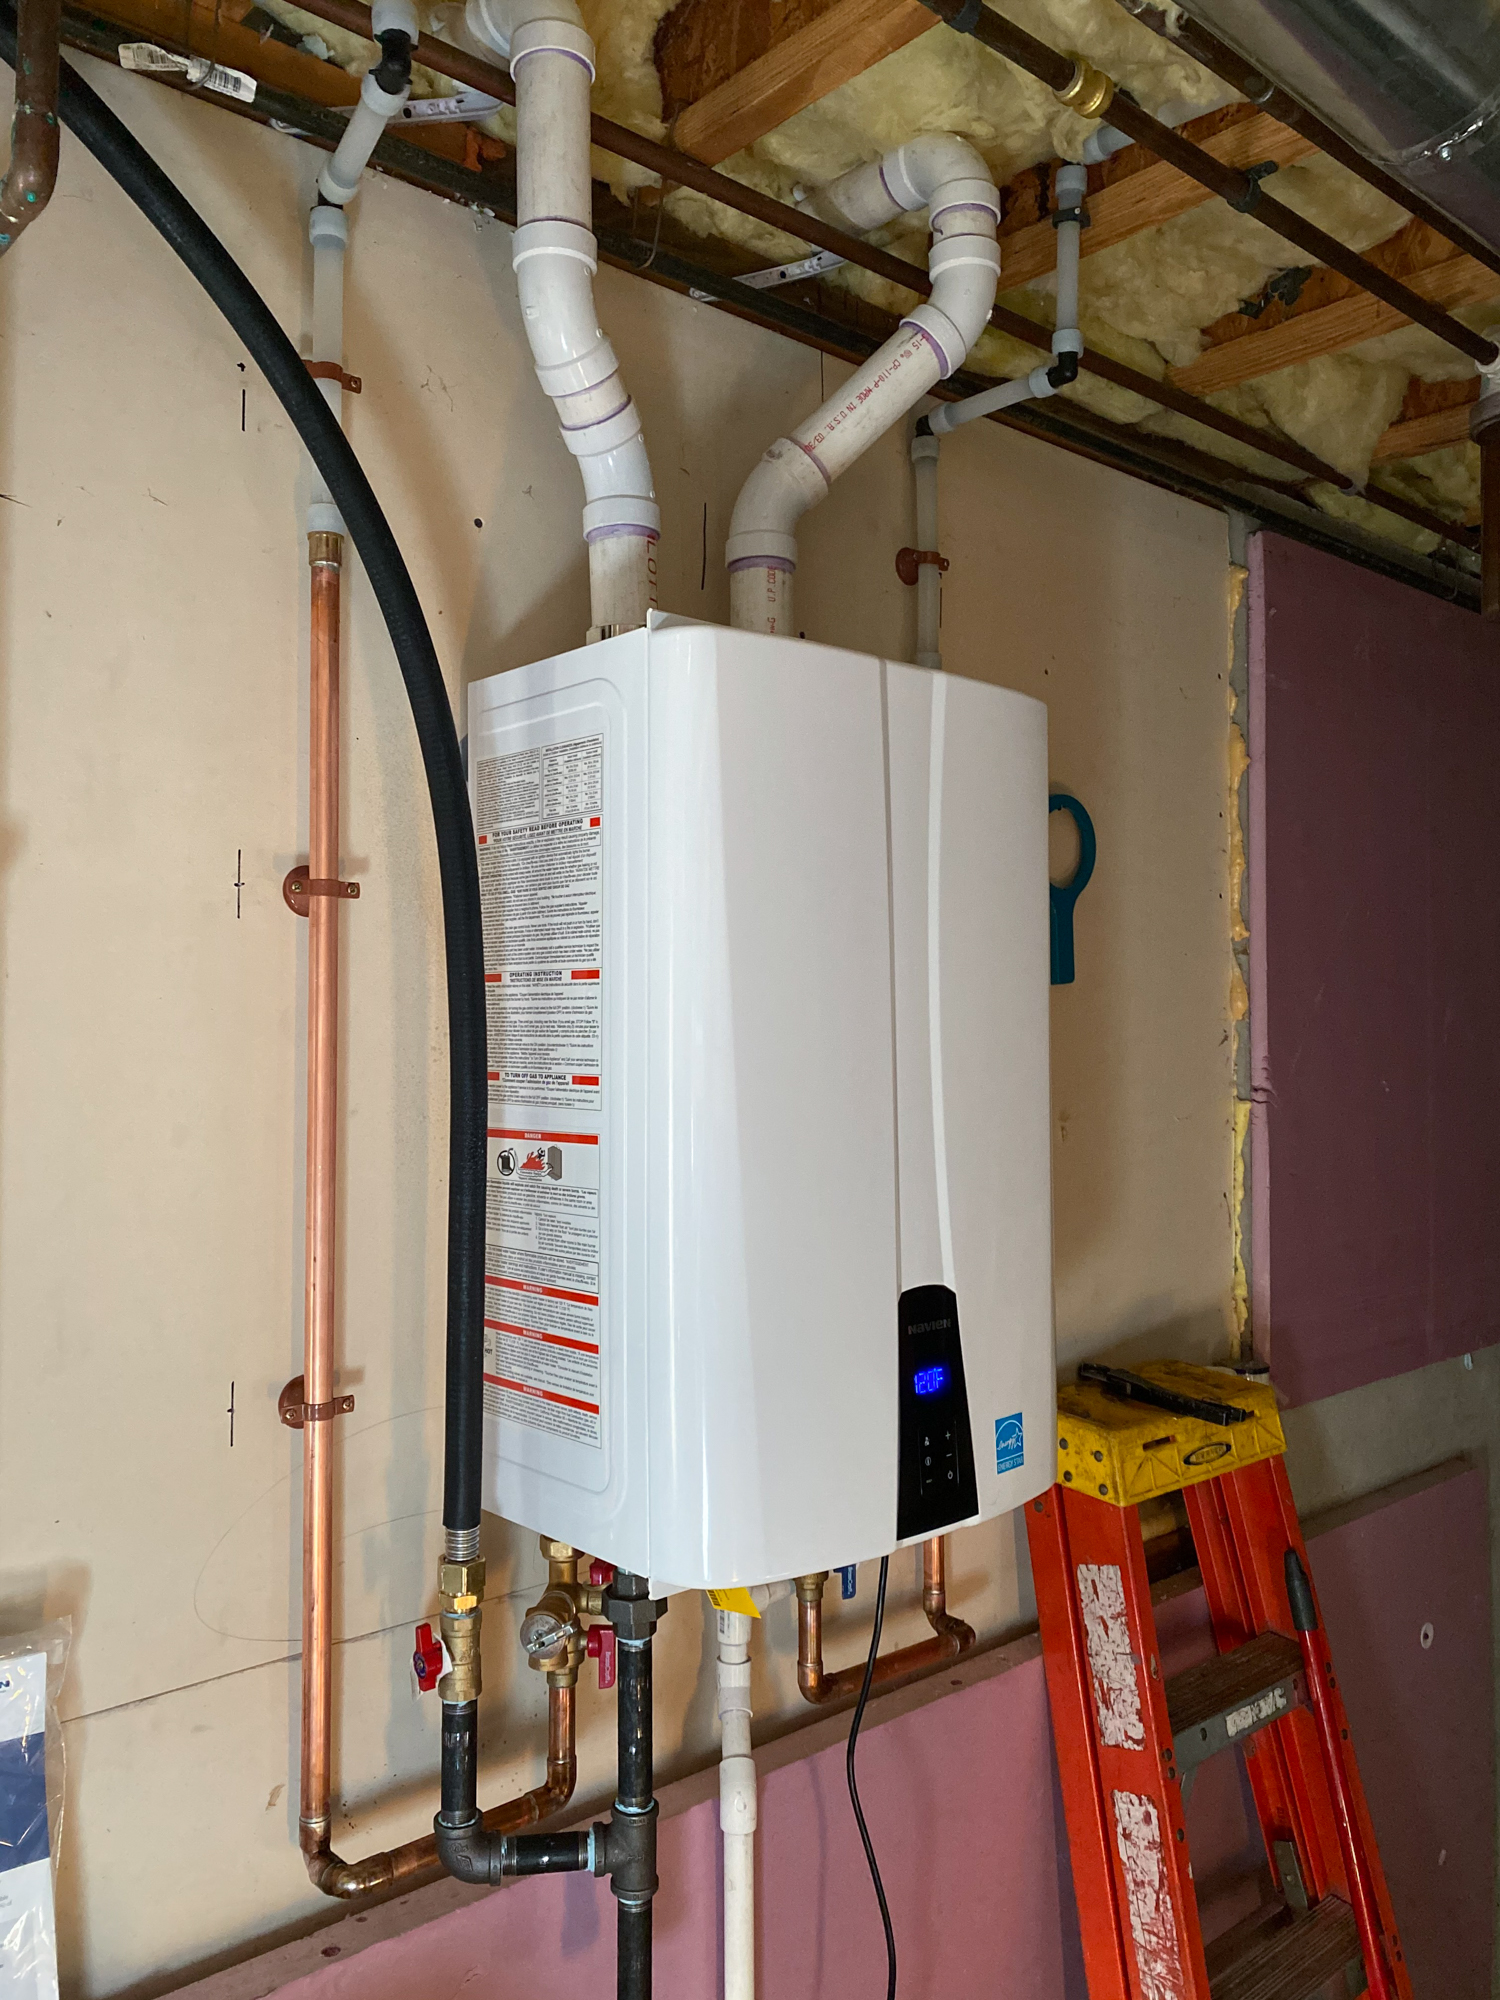
Considering the Switch to a Tankless Water Heater?
We recommend water softener installation with all tankless water heaters we install. Like traditional tank heaters, tankless systems are susceptible to hard water buildup—it causes the same efficiency issues, corrosion, and scale buildup on the heat exchanger. However, when the hardness minerals are removed from your water, you’ll find your tankless water heater much easier to maintain.
At Blakeslee and Son, we’ll install your water softener at the same time as your tankless or tank water heater. Send us a message today for a rapid quote on this package deal!
Get a Quote
Easily Monitor Softener Salt Levels and Get Softener Salt Delivered
Tired of the hassle of water softener maintenance? Blakeslee & Son offers water softener salt delivery on a yearly basis.
With a SaltIQ system, we’ll regularly monitor your salt levels, and deliver and replace your softener salt as needed!
Get the Details
Rapid Water Softener Repair & Service
Get on the schedule for water softener repair, service, or installation immediately when you call our office!
”“Blakeslee & Son installed a new water heater, new water softener, and filter, replaced the well pressure tank, and fixed several plumbing pipes due to aging. I never thought I'd say that going through all that would be enjoyable, but it was!”
Get a quick response to your hard water issues any time you call our office. Additionally, we’ll be able to help you in all areas of your home appliances from plumbing to HVAC to air quality.
75+ years serving Rockford & West Michigan
Always on call
Financing offered for all installations and services
All work is warrantied
No gimmicks, no sugarcoating, and no price-gouging
We stick around until the job gets done — we’re not comfortable until you are!
Won’t leave you without a solution or fix
Problem with your water softener? We’ll help you solve it.
Water is not softened
Water that isn’t softened could stem from a few different issues. You’ll first want to make sure that your unit is turned on and has power, the brine tank has the right amount of salt in it, and the bypass is closed. If those issues aren’t to blame, then you may need the help of an expert. Blakeslee & Son can help you with any clog removals or part replacements your unit may need!
System not regenerating
If your system isn’t regenerating, you can start by making sure your unit is properly plugged in and has power. If that’s not the issue, there may be a problem with the control head or there may be a clog in the system’s plumbing. Reach out to an expert to help with any clog removals or part replacements your unit may need!
Regeneration cycle delayed or stuck continuously running
If the regeneration cycle is delayed or stuck continuously running, start by making sure the control head settings are correct. If that’s not the issue, you could be dealing with low water pressure, broken switches, or a clog in the brine tank, brine line, or injector. In those cases, have an expert take a look. Blakeslee & Son can help with any maintenance or repairs your unit may need!
System is leaking
If your system is leaking, call an expert immediately. You are either dealing with worn out parts that need replacing or an incorrect installment. In either case, Blakeslee & Son can get your unit back up and running in no time.
Brine tank has too much water
If your brine tank has too much water, you either have a faulty water entry valve or the float valve is set too high. To set the valve lower, you can follow the instructions in your unit’s manual. But if you need to replace your entry valve, give us a call and we’d be happy to help!
Not enough water in brine tank
If your brine tank doesn’t have enough water, you either have a faulty water entry valve, the float valve is set too low, or there’s a clogged brine line. To set the valve higher, you can follow the instructions in your unit’s manual. But if you need to replace your entry valve or remove and flush the brine line, give us a call! We’ve got you and your unit covered.
Loss of water pressure
If you are finding a loss of water pressure, you could be dealing with scale buildup, sediment buildup, a resin blockage in the water exit line, or an improperly sized system. If you think the issue is buildup, start with cleaning out the brine tank, system plumbing, and control head. But if you are dealing with a resin blockage or an improperly sized system, reach out to an expert for help.
Too much salt usage, water tastes salty
If your water is tasting too salty, there may not be enough water in the brine tank or the control head setting may be off. Start by verifying and adjusting the settings. If that doesn’t solve the issue, check for salt bridges or mushing and remove. Blakeslee & Son offers unclogging services if you need help!
Discoloration, debris, odors
If you are experiencing water discoloration, debris, or odors, you may be dealing with one of three things: sediment buildup, bacteria growth, or your resin beads have reached the end of their lifespan. If you think it may be the first two, clean and sanitize the entire system. And if you think the issue may be the resin beads, replace the resin. Blakeslee & Son can help with any replacements or maintenance your unit may need!
Are you concerned about your water quality, taste or odors? Along with Sterling water softeners, we also install whole-home filters for taste and odors and Reverse Osmosis systems! Just send us a message for more information!
Water Softener Installation in Rockford, Michigan
Blakeslee & Son has been local to Rockford, Michigan for over 75 years, becoming a trusted name in HVAC and plumbing services. As a family-owned business, we take pride in meeting the plumbing needs of our neighbors in the Rockford community. This includes installing new water softener systems, promptly addressing water softener repairs, and offering regular softener salt delivery.
Beyond Rockford, we offer water softener installation, repair, and salt delivery to the surrounding areas, including: